Common Surface Prep Mistakes That Ruin Adhesion: Troubleshooting Guide
Why did my glue not stick even though I did everything right?
On this page
Did you prep the surface exactly as the instructions said, but your repair still fell apart? The culprit is often something you can't see—contamination, hidden moisture, or a surface sealed too well. In this troubleshooting guide, we'll diagnose the most common prep mistakes and show you simple tests to ensure your adhesive sticks.
Introduction: The Frustration of a Failed Bond
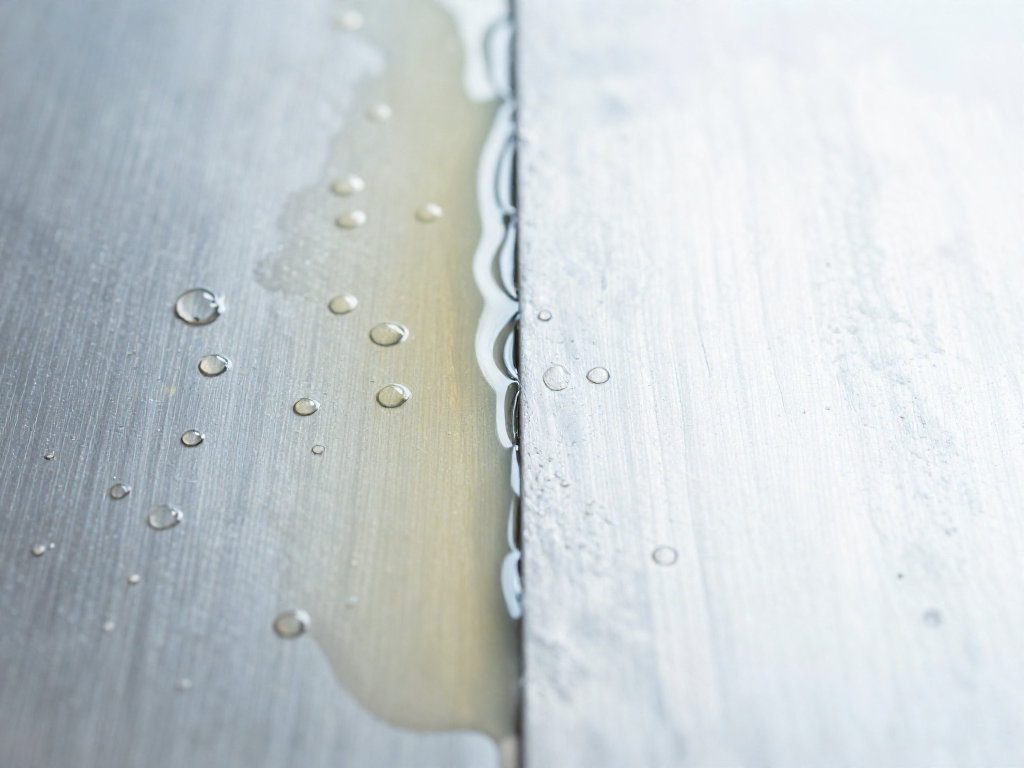
You sanded, wiped, clamped. The glue still let go. Why? Because surface prep isn’t just about roughness — invisible contamination or hidden moisture can sabotage the bond. A simple test: spray water on the part. If it beads up instead of flowing into a sheet, the surface isn’t actually clean (PTI Industries). In this guide, we’ll show you how to spot these stealth saboteurs and fix them before they ruin your project.
Invisible Contamination: The #1 Adhesion Killer You Can’t See
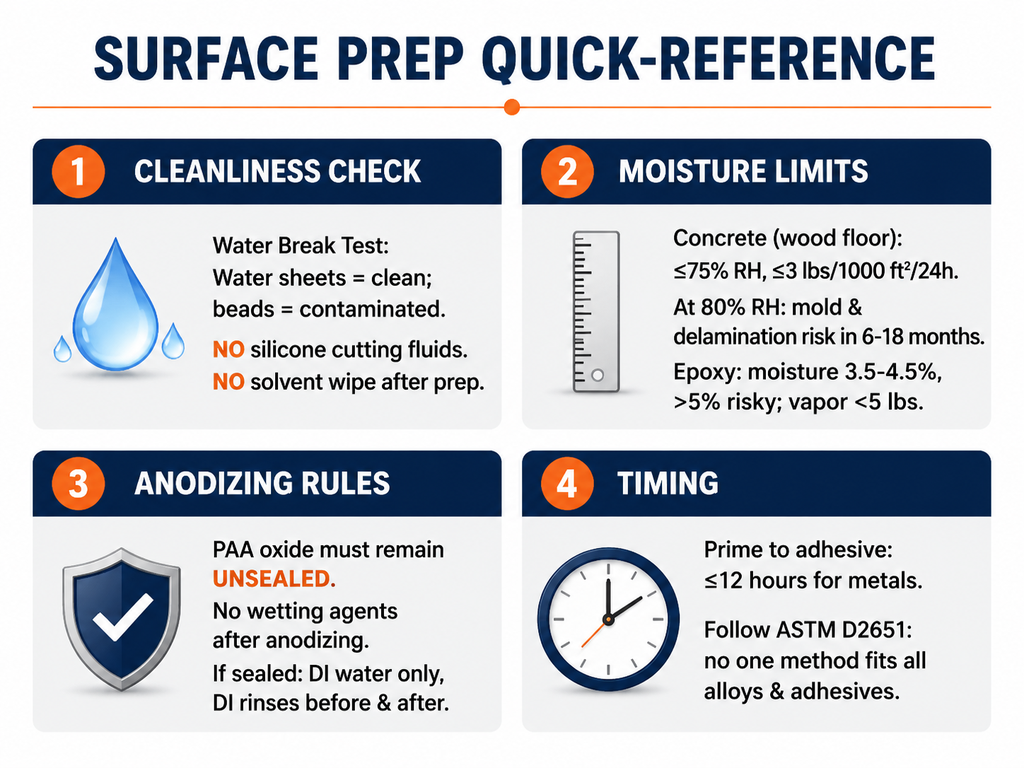
The most reliable way to check a surface for invisible contamination is the water break test. Mist or pour distilled water onto the area and watch closely. If the water beads up and shrinks into droplets like a waxed car hood, a film is still there. On a truly clean surface, water sheets out in a continuous, unbroken layer (PTI Industries). It’s a dead-simple pass/fail check that catches problems no amount of visual inspection will reveal.
Often that invisible film is silicone—one of the most adhesive-hostile substances in a home shop. NASA’s bonding specification PRC-1001 explicitly bans silicone-based cutting fluids, lubricants, and forming fluids on any part destined for adhesive bonding (NASA). In a household setting, silicones sneak in from WD-40, furniture polish, Armor All, or overspray from silicone caulk. Even a micro-layer left by a polishing rag will beat most structural adhesives.
The catch: many DIYers make the problem worse after they’ve already done the hard work. The same NASA specification forbids solvent-wiping an unprimed surface after mechanical or chemical surface preparation. Running a rag soaked in IPA or acetone across a freshly sanded or etched surface can drag contaminants back out of pores or redeposit them from the cloth. Instead, degrease with IPA or acetone before you scuff or etch. Do a water break test to confirm the film is gone, then abrade or chemically prep. After that final surface roughening, leave the solvents on the shelf. Remove loose dust with a dry brush or clean compressed air—no liquids. From that moment on, wear clean gloves. Even a quick swipe of a bare finger leaves enough oil to bead water and starve a bond of strength.
When Concrete Looks Dry But Destroys Your Bond: The Hidden Moisture Trap
Concrete can feel bone-dry to the touch and still ruin your floor or coating. That’s because the moisture that kills adhesion isn’t on the surface—it’s migrating up from deep within the slab. Until you measure what’s happening inside, you’re gambling with a slow, invisible failure.
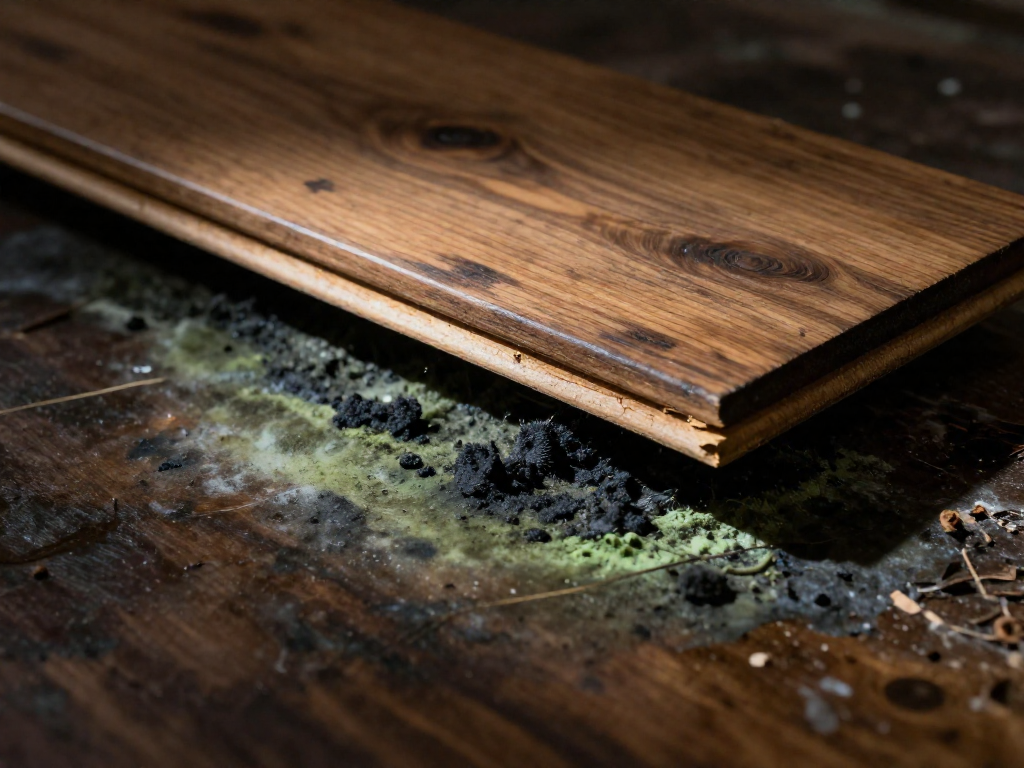
For wood flooring, the industry limits are clear: internal relative humidity should never exceed 75% (per ASTM F2170), and moisture vapor emission through the surface must stay at or below 3 lbs per 1,000 square feet every 24 hours (ASTM F1869). Even a slight bump to 80% RH can cause moisture-reactive urethane adhesives to delaminate and foster mold within 6 to 18 months (Sensora Home). The planks may look fine for a while, but the bond is quietly rotting from underneath.
If you’re coating the floor instead of laying planks, the numbers shift. Epoxy demands even drier conditions: a slab moisture content between 3.5% and 4.5% is the sweet spot. Push past 5%, and you’re inviting peeling and delamination. Vapor transmission rates above 5 lbs/1,000 sq ft/24 h can force bubbles right through the finish as moisture tries to escape.
Surface pin-type meters are practically useless here—they only read the top eighth-inch or so. To get a real reading, drill a hole to 40% of the slab depth and insert an in-situ relative humidity probe, or run a calcium chloride dome test following ASTM F1869. For a quick go/no-go on a suspect slab, tape a clear plastic sheet down overnight; if condensation collects, the concrete is definitely too wet. But that’s just a red flag—you still need a quantitative measurement before committing adhesive. Moisture problems don’t announce themselves until the floor is already ruined, so test thoroughly or risk doing the whole job twice.
The Anodized Aluminum Mistake Nobody Talks About
Most people anodize aluminum specifically to increase corrosion resistance—and that’s exactly why it often sabotages adhesive bonds. The problem is the sealing step that typically follows. When anodized aluminum is sealed in hot water (or with chemical sealers), the porous oxide film hydrates and swells shut, locking out the very microscopic anchor points adhesives need to grab. The result: glue that peels off a smooth, seemingly perfect surface.
If you’re bonding anodized aluminum, the oxide needs to stay porous and unsealed. For maximum bond strength, industrial shops often turn to phosphoric acid anodizing (PAA), which creates a tough, honeycomb-like oxide layer designed to absorb adhesive. PAA is performed in a 10–15% phosphoric acid bath at roughly 100°F (38°C) with 15–25 volts applied, forming a coating that’s left deliberately unsealed to maximize mechanical interlock. Standard sulfuric anodizing can also work, but again, skip the seal step.
The real trap is wetting agents—surfactants added to seal tanks to improve rinse water sheeting. Use of any wetting agents at all after anodizing will be deleterious to the adhesion of both bonding agents and paint (Aluminum Anodizers Council). If parts must be sealed for corrosion reasons, do it only in deionized water with no additives, and follow with a DI rinse before and after.
No single preparation method works for every aluminum alloy or adhesive (ASTM D2651), so always check your specific alloy and adhesive manufacturer’s recommendations. If you’re stuck with an already-sealed part you can’t re-anodize, gentle abrasion—scuffing with a fine Scotch-Brite pad—can break the seal enough to restore adhesion, though it won’t match a fresh, unsealed PAA surface.
The Forgotten Clock: Timing and Temperature Mistakes That Undo Your Prep
You scrubbed, dried, and primed — then the bond failed anyway. The culprit is often the invisible clock that starts ticking the moment you finish surface prep.
Primer isn't permanent. On metal, the chemical freshness of a primed surface is fleeting. NASA's bonding specification allows a maximum of just 12 hours between priming and adhesive application. After that, oxidation and contamination creep back in, and the bond strength you counted on is gone — even if the surface looks untouched. DIYers who prime parts one weekend and glue the next are setting themselves up for a ghost failure.
Open time is brutal. Many two-part or moisture-cure adhesives begin to skin over within minutes of mixing or exposure. If you wait too long to assemble, you're pressing against a cured film instead of wetting the mating surface. The result: a bond that feels solid but delaminates under load.
Temperature and humidity aren't comfort issues — they're cure killers. Below about 65°F, most adhesives crawl toward cure, giving condensation a chance to form and poison the interface. Above 85°F, rapid skinning and shortened working windows make large or complex assemblies a race you'll often lose. And if you're using a moisture-sensitive polyurethane, high humidity is a silent bomb. At 80% relative humidity, these adhesives can absorb enough ambient moisture to start foaming and lose their structural grip within a few months (Sensora Home).
Time and temperature are just as critical as degreasing. Miss those windows, and the best prep in the world won't save you.
Prevention Checklist: Your Pre-Glue Ritual for Bonding Success
Before you open the adhesive, tick off these steps—they’re the difference between a bond that holds and one that fails.
- Do a water break test on metals and plastics: a continuous sheet of water means clean; beading means re-clean (PTI Industries).
- Test concrete moisture with a proper RH probe or calcium chloride kit—wood-flooring adhesives demand ≤3 lbs/1,000 sq ft/24 h, and epoxies fail above 5% moisture content.
- Skip the silicone lubricants and generic cleaners; they leave invisible films that kill adhesion.
- Check the manufacturer’s prep sheet for your exact material—no single method works for all metals and adhesives, as ASTM D2651 reminds us.
- Respect the clock: primed metallic parts must be bonded within 12 hours, and always stay within the adhesive’s temperature and humidity specs.
Sources
- Surface Preparation for Adhesive Bonding | PTI Industries — ptiindustries.com
- Process Specification for Adhesive Bonding (NASA PRC-1001) — nasa.gov
- Phosphoric Acid Anodizing – Palm Technology — palmequipment.com
- Technical Bulletin #1-08: Guide to Selecting the Proper Adhesive for Anodizing Applications — cdn.ymaws.com
- Metal Surface Preparation for Adhesives (ASTM D2651) — scribd.com
- Surface Preparation Techniques for Adhesive Bonding of Aluminum and Copper (ORNL) — info.ornl.gov
- Concrete Moisture for Wood Flooring: ASTM Limits & Tests – Sensora Home — sensorahome.com
- What Moisture Content Is Acceptable For Epoxy On Concrete? – Top Gun Garage — topgun-garage.com
FAQ
How can I tell if my surface is clean enough for adhesives?
Perform a water break test: spray water onto the surface. If it forms a continuous sheet and runs off evenly, it’s clean; if it beads up like a waxed car, contamination remains. PTI Industries recommends this method as a reliable quick check.
Why did my epoxy floor coating bubble after a few weeks?
Excess concrete moisture is the likely culprit. Moisture content above 5% or vapor transmission rates exceeding 5 lbs per 1,000 sq ft per 24 hours can force the epoxy to bubble and lose adhesion. Top Gun Garage notes that safe readings are 3.5–4.5% moisture and transmission below 5 lbs.
Can I glue anodized aluminum without sanding it?
It’s not ideal. Standard anodized aluminum has a sealed oxide layer that blocks adhesive absorption and reduces bond strength. For reliable adhesion, the surface should be unsealed—as with phosphoric acid anodizing—or mechanically abraded. If the part is sealed in deionized water without wetting agents, bond quality may be acceptable, but skipping preparation risks a weak joint.
Is it safe to wipe the surface with acetone right before bonding?
No. NASA’s bonding specification explicitly forbids solvent-wiping an unprimed surface after preparation and before priming or bonding. Doing so can redeposit contaminants or strip essential surface conditioning, undermining adhesion.
How long can I wait after priming before applying adhesive?
For metallic parts, no more than 12 hours. NASA’s process specification caps the time between priming and adhesive application at 12 hours. Exceeding that window risks moisture pickup or surface contamination that degrades bond strength.
See also
- Best Glue for Metal to Metal: A Material-by-Material Guide
- Concrete Bonding Adhesives: Which One to Use for Repairs
- How to Choose the Right Epoxy for Floor Coatings
- Plastic Bonding Basics: Surface Prep for Hard-to-Glue Plastics
Related articles
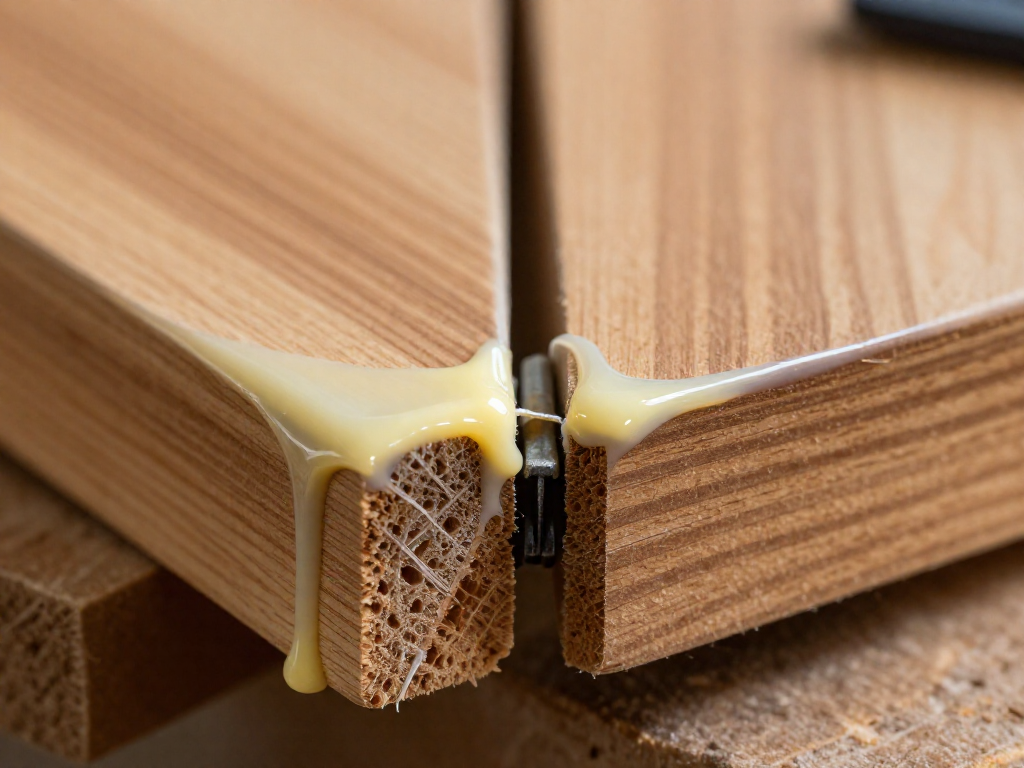
Clamping and Curing: Proper Pressure and Time for Different Adhesives
How much clamping pressure and time do I need for my glue to cure properly?
Jul 22, 2026 · 5 min read
Joint Design for Strong Bonds: Butt, Lap, Scarf, and More
How does the shape of the joint affect glue strength?
Jul 22, 2026 · 12 min read
Primers and Adhesion Promoters: When and How to Use Them
Do I need a primer before gluing certain materials, and what does it do? Learn when silanes, titanates, and proper prep make or break your bond.
Jul 22, 2026 · 6 min read