Surface Preparation for Adhesive Bonding: A Step-by-Step Guide
What are the essential steps to prepare surfaces so glue sticks properly?
On this page
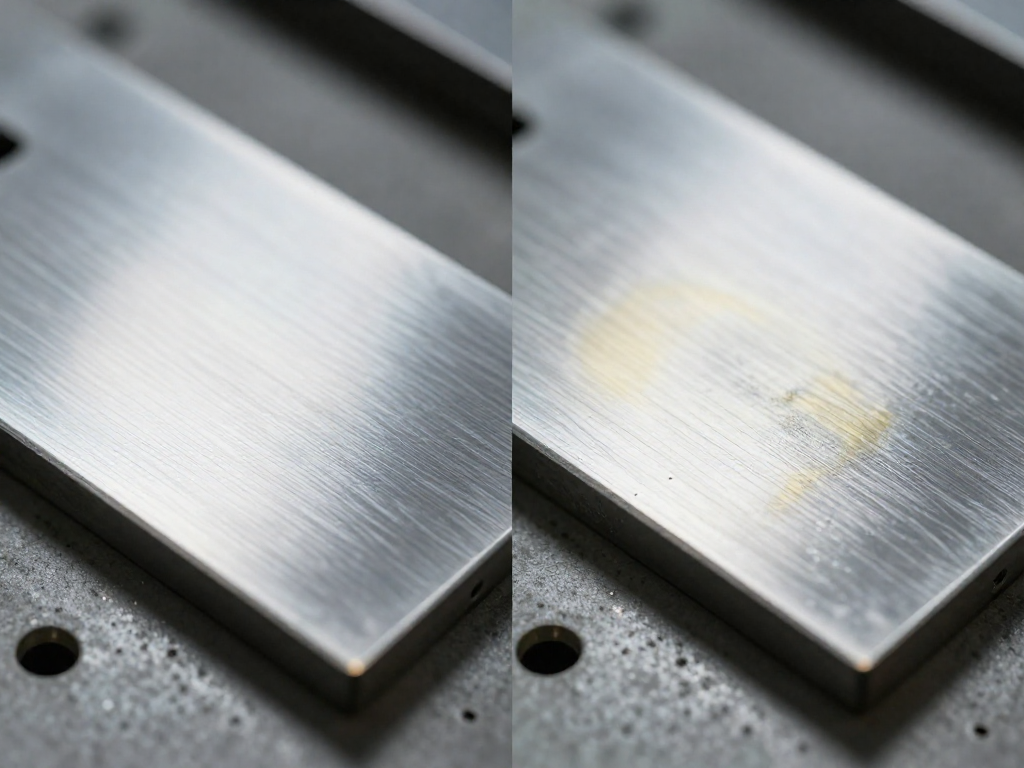
You followed the adhesive instructions perfectly, so why did the bond fail? Chances are, the surfaces weren't prepared correctly. This step-by-step guide covers the three pillars of surface prep—cleaning, abrasion, and chemical treatment—with specific advice for metal, wood, plastic, and more.
Why Surface Prep Makes or Breaks Your Bond
If you want glue to actually stick, surface preparation is not optional—it’s the foundation. Among all steps in adhesive bonding, this one is the most critical, complex, and frequently skipped (ORNL report). The majority of bond failures trace back to poor prep, not weak adhesive.
So what are you really doing when you prep a surface? You’re tackling three things: removing every trace of contamination (grease, oil, dust, rust, or old coatings), roughening the surface to give the adhesive a mechanical grip, and—when needed—altering the surface chemistry so the adhesive can form a reliable chemical bond. Think of it as clean, roughen, prime. The specific method varies depending on whether you’re bonding metal to plastic, wood to glass, or anything in between, but the fundamental goal never changes: expose a fresh, high-energy surface that the adhesive can wet out and cling to.
Industrial standards like SSPC-SP2 and ISO 8501 govern these processes for structural applications, but you don’t need to memorise them for a DIY repair. The principles scale down: degrease thoroughly, abrade with the right grit, remove the sanding dust, and—if your adhesive demands it—apply a compatible primer. Skip any of these, and you’re asking the adhesive to bond to a layer of grime or a weak boundary that will eventually separate.
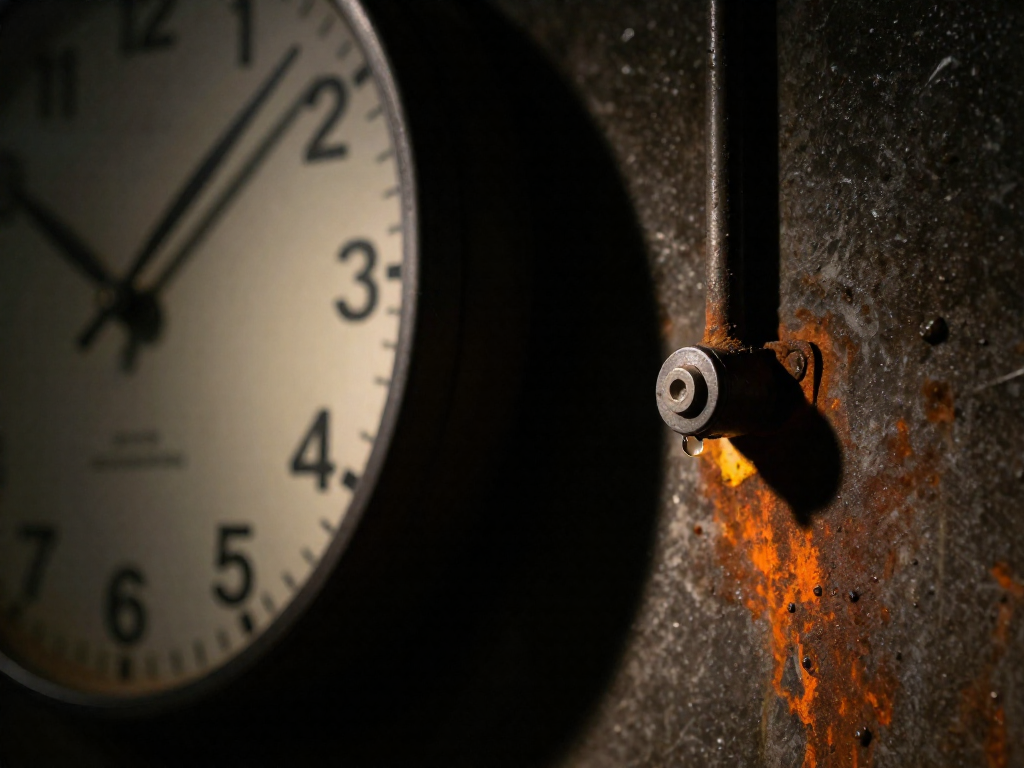
The good news? Most surfaces respond well to a simple alcohol wipe and a scuff with sandpaper. But pay attention to recontamination—bare metal can begin to rust within hours, and a fingerprint puts oils right back. Prep immediately before bonding, not ahead of time. Get that right, and you’ve already done the hardest part.
Step 1: Degrease—Remove Every Trace of Contaminant
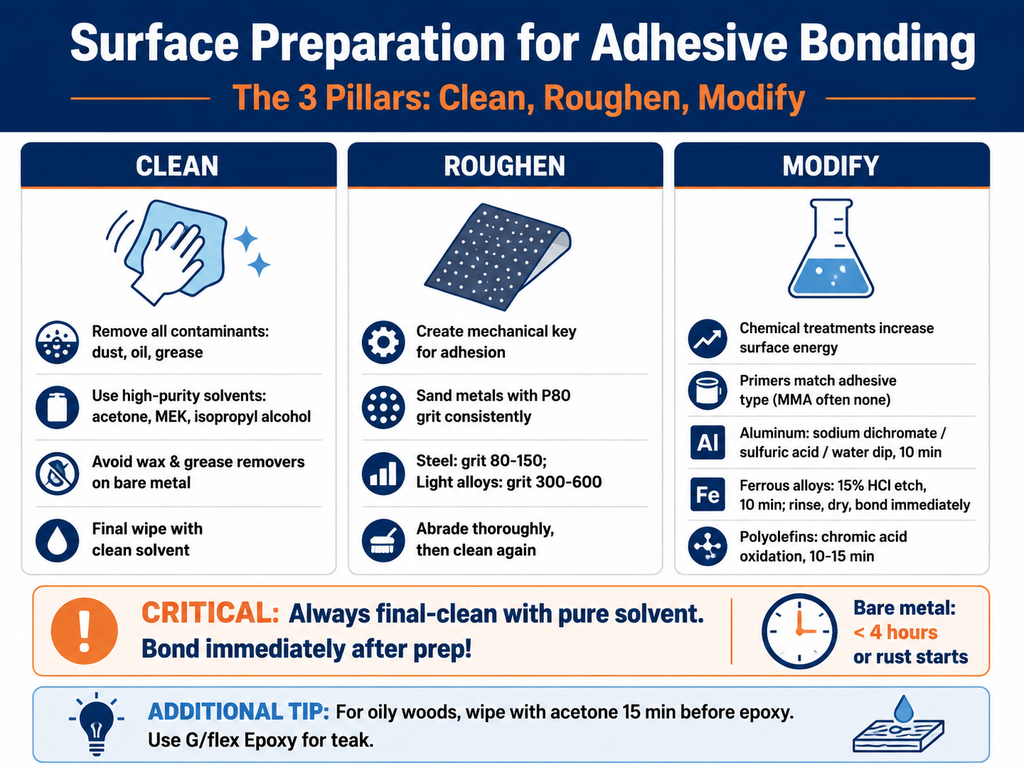
Degreasing is not a quick wipe-down; it’s the deliberate removal of invisible films—oil, wax, silicone, and handling residue—that prevent adhesives from reaching the substrate. Start with a solvent that cuts your specific contaminant. For general shop grime, acetone, methyl ethyl ketone (MEK), or isopropyl alcohol (IPA) are reliable. Acetone is especially aggressive on greases and evaporates fast, while IPA is milder and safer on many plastics.
What you skip matters as much as what you use. Traditional wax-and-grease removers sold for auto body work can leave a residue on bare metal that sabotages epoxy adhesion. On bare steel or aluminum, stick with a pure solvent, not a product designed to leave an anti-rust film.
Oily woods like teak present a special challenge. The natural oils migrate to the surface and weaken the bond. Wipe with acetone 15 minutes before mixing your epoxy—the short window prevents new oil from surfacing. West System specifically recommends this timing for their G/flex epoxy, and it holds for any structural wood bond.
The critical final step: just before applying adhesive, do a last pass with a high-purity solvent and a fresh, lint-free cloth. Don’t use a paper towel—lint becomes a weak plane. The solvent evaporates in seconds, and you must bond immediately. Any delay allows airborne dust and moisture to recontaminate the surface, undoing all your prep.
Step 2: Abrade to Create a Mechanical Key
A smooth surface is a glue joint’s worst enemy. Adhesives rely on a mechanical key—microscopic scratches and peaks that the liquid can flow into and grip. Abrading with the right grit for your material transforms a slick plane into a receptive anchor.
For steel and other resistant metals, stick with 80–150 grit abrasives. Over-sanding with fine grits can polish the surface and weaken the bond. Light alloys like aluminum, on the other hand, need a finer touch: use 300–600 grit to avoid scoring the softer metal. When prepping bare metal for epoxy primer, sand with P80 grit on an orbital sander to establish a uniform scratch profile. If you’ve used a strip disc, re-sand with 80 grit afterwards—strip discs can leave a residue that acts like a contaminant—and apply epoxy within four hours before flash rust sets in.
Concrete demands a more aggressive approach. According to Smooth-On, mechanical scarification should remove a full 3 mm of the surface; sandblasting is effective at a 1.5 mm depth. After either method, vacuum thoroughly—loose dust is a recipe for a weak boundary layer.
Wood is simpler but not skip-proof. Sand until fresh, clean fibers are exposed, and confirm moisture content falls between 8–12%. If the wood feels oily, wipe it with a solvent before bonding.
Polyester laminates (fiberglass) require a two-step prep. First, remove all traces of mold-release wax with a dedicated silicone and wax remover like DuPont Prep-Sol. Then sand with 80-grit paper to a dull, evenly scratched finish. This opens up the surface for epoxy to bite.
Once the dust settles—literally—blow it off or vacuum every last particle. Even a fine layer of sanding debris can prevent adhesive contact and lead to premature failure.
Step 3: Prime and Chemically Treat When Necessary
For difficult-to-bond substrates, a primer or chemical etch can make the difference between a joint that holds and one that peels apart. Primers (adhesion promoters) chemically modify the surface so it reacts with both the substrate and the adhesive—but only if matched to the adhesive type. Check your adhesive’s datasheet; many modern formulations, particularly methyl methacrylates (MMAs), skip the primer altogether.
If you need maximum structural strength on metals, a chemical pretreatment goes beyond abrasion. One classic aluminum pretreatment from Smooth-On involves degreasing, then a 10-minute dip in a blend of 3 parts sodium dichromate, 10 parts 96% sulfuric acid, and 20 parts water (alloy 360 gets just 1–3 minutes). Rinse in tap water, then hot distilled water (150–170°F), and air dry. For ferrous alloys other than stainless, a 10-minute soak in 15% aqueous hydrochloric acid etches the surface, but you must rinse immediately and apply adhesive right away—freshly etched steel rusts in minutes. Polyolefins like polyethylene and polypropylene require oxidizing in a sodium dichromate/sulfuric acid solution for 10–15 minutes, followed by a hot distilled water rinse and immediate bonding.
These chemicals are seriously hazardous. Use proper PPE, ventilation, and follow disposal rules. Surface preparation is only as good as its final step: after any treatment, wipe with a high-purity solvent and bond immediately before recontamination sets in. For most DIY jobs, though, a thorough degrease and sanding will give you all the grip you need. Reserve chemical etches for high-load or safety-critical bonds where a failure isn’t an option.
Surface Prep Cheat Sheet: Quick Reference by Material
- Aluminum: Wipe with acetone, then scuff with 80-grit aluminum oxide paper. Work fast; an oxide layer starts forming the moment you stop sanding.
- Steel (not stainless): Degrease, then sand (80–150 grit) or sandblast. Apply adhesive immediately — bare steel begins rusting as soon as it’s prepped (Smooth-On).
- Wood: Sand to clean fibers, check that moisture content is 8–12% max, and wipe with a solvent if the species is oily.
- Concrete: Mechanically scarify to open pores, then vacuum thoroughly — no dust left behind.
- Polypropylene & Polyethylene: Standard abrasion won’t work. Flame or chromic acid oxidation is required; treat this as a specialty job.
- Teak & oily woods: Wipe with acetone 15 minutes before epoxy. G/flex epoxy gives the most reliable bite on oily species.
The Final Step: Bond Immediately (Time Is Your Enemy)
After your final solvent wipe, don’t waste a second. Adhesive should be applied as soon as the surface is prepped—recontamination from dust, moisture, or even fingerprint oils starts immediately. For ferrous metals like mild steel, the clock is especially unforgiving: bare metal can begin rusting within 4 hours of blasting or sanding. If you can’t bond right away, cover the part with clean plastic and schedule the job so prep and bonding happen in the same session.
When bonding to cured epoxy, there’s an extra gotcha. Epoxy surfaces often develop an amine blush—a waxy byproduct that kills adhesion. Wash it off with clean water and a Scotch-Brite™ 7447 pad, then sand any remaining glossy spots with 80-grit sandpaper (West System). After that, you’re again on the clock: apply fresh epoxy immediately. Good surface prep is wasted if the adhesive sits on a compromised surface.
Sources
- Surface Preparation Techniques for Adhesive Bonding of Aluminum and ... — info.ornl.gov
- The Importance Of Surface Preparation For Adhesive Bonding | Kohesi Bond — kohesibond.com
- Surface Preparation for Adhesive Bonding Techniques & Tips — gluegun.com
- How to Do Surface Preparation for Adhesive Bonding | Laserax — laserax.com
- Surface Preparation for Adhesive Bonding - PTI Industries Inc. — ptiindustries.com
- How to Prepare Bare Metal for Epoxy Primer - The Most Important Part of Automotive Restoration — youtube.com
- Surface Preparation — westsystem.com
- Preparation of Surfaces for Epoxy Adhesive Bonding — smooth-on.com
FAQ
Can I skip sanding if I just degrease really well?
No, skipping sanding will result in a weaker bond. Surface preparation isn't just about cleaning—it also requires roughening to create a mechanical key for the adhesive. Smooth-On ranks 'degrease only' as the least effective pretreatment; degreasing, abrading, then degreasing again significantly improves adhesion.
What household items can I use instead of industrial solvents?
Pure acetone (nail polish remover) and isopropyl alcohol (rubbing alcohol) are effective everyday degreasers, provided they contain no added fragrances, oils, or colorants that can leave residue. Wipe with a lint-free cloth and let the surface dry completely. For oily woods, wiping with acetone 15 minutes before applying epoxy is specifically recommended.
How soon do I need to apply adhesive after surface prep?
Apply adhesive as soon as possible after final cleaning—ideally within minutes—to prevent recontamination or oxidation. For bare steel and iron, rust can begin within 4 hours, so don't wait longer without re-prepping.
See also
- Epoxy vs. Polyurethane: Which Adhesive Is Right for Your Materials?
- How to Repair Outdoor Equipment: Adhesives That Withstand UV and Moisture
- Glue Clamping Tips: How Long and How Much Pressure?
Related articles
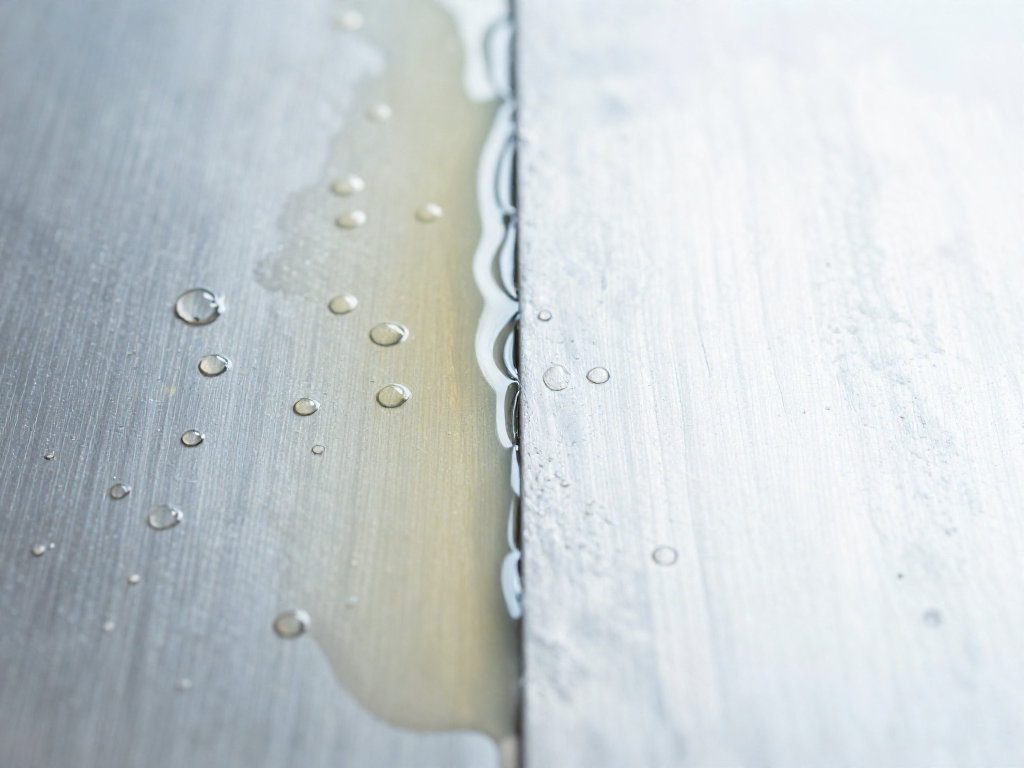
Common Surface Prep Mistakes That Ruin Adhesion: Troubleshooting Guide
Why did my glue not stick even though I did everything right?
Jul 22, 2026 · 8 min read
Clamping and Curing: Proper Pressure and Time for Different Adhesives
How much clamping pressure and time do I need for my glue to cure properly?
Jul 22, 2026 · 5 min read
Joint Design for Strong Bonds: Butt, Lap, Scarf, and More
How does the shape of the joint affect glue strength?
Jul 22, 2026 · 12 min read