Adhering Glass to Wood: The Safe Way to Create Display Cases and Crafts
How can I securely attach glass to wood without damaging either material?
On this page
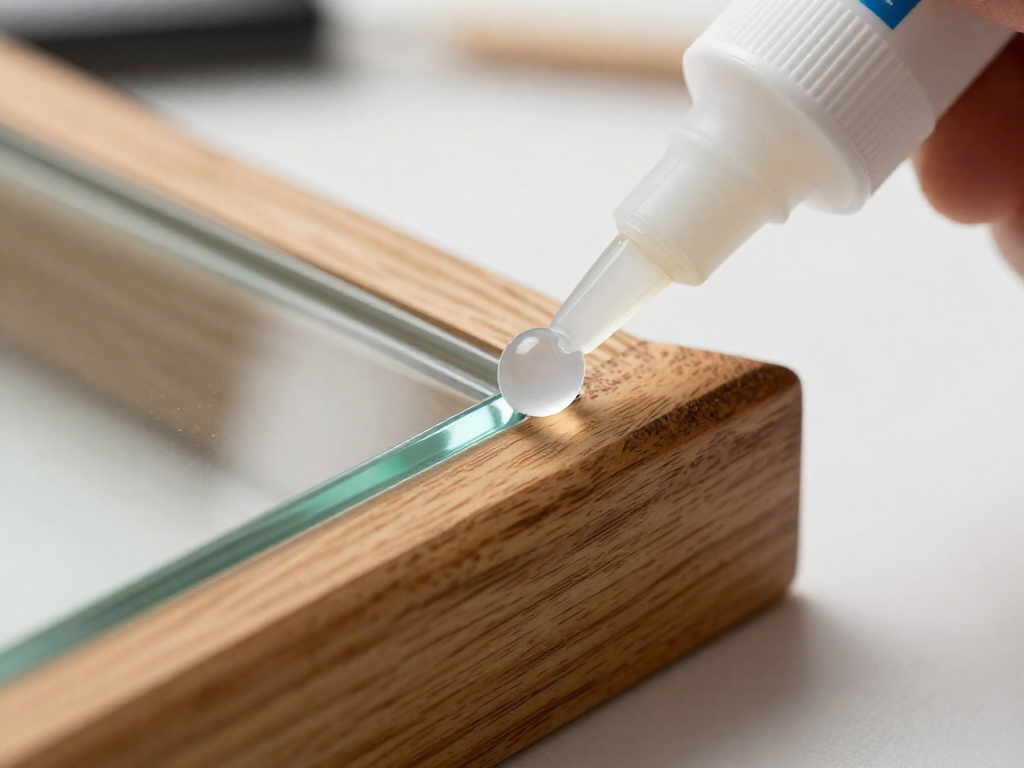
You want to attach a glass pane to a wooden display case, but any rigid glue will crack when the wood moves. Silicone adhesive solves this because it flexes, stays clear, and handles moisture.
The Unique Challenge of Bonding Glass to Wood
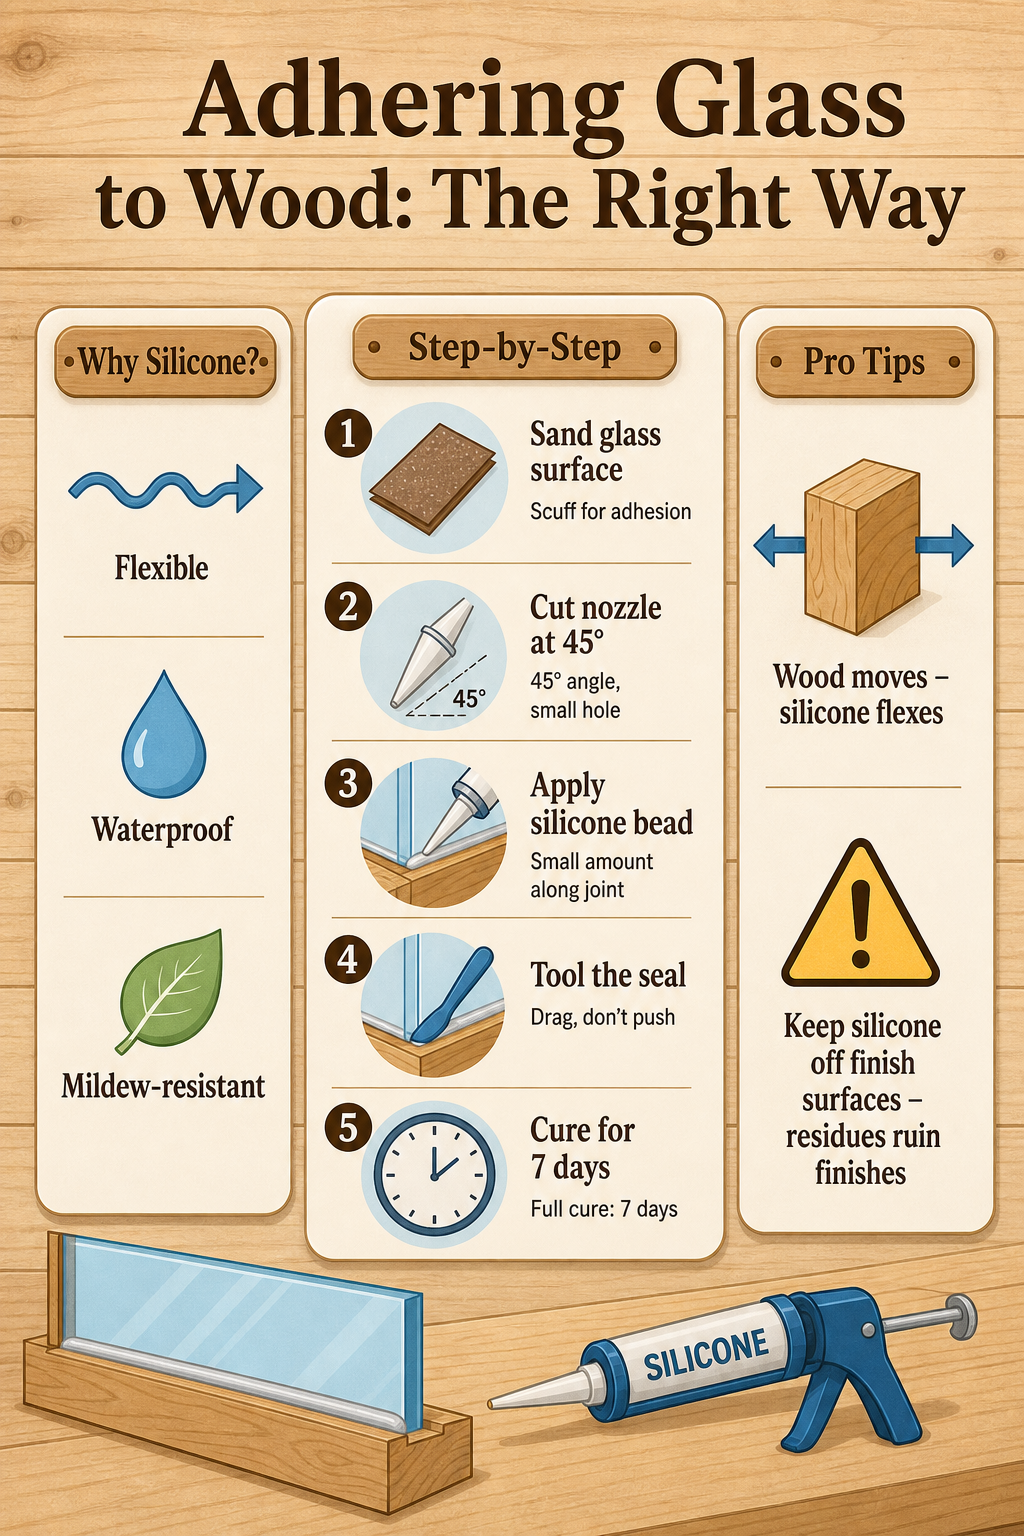
To securely attach glass to wood, skip rigid glues and reach for clear silicone. Wood expands and contracts with humidity changes—glass doesn’t—so a stiff bond will fail. Silicone’s flexibility absorbs this movement, keeping the bond intact (Woodweb).
Why Silicone Adhesive Outperforms Rigid Glues
Wood swells and shrinks with every change in humidity, while glass stays stubbornly static. That mismatch is why rigid glues—think cyanoacrylate or two-part epoxies—eventually crack or pop free. Silicone, however, stretches and compresses without losing its grip, making it the ideal bridge between two materials that move at different rhythms. As Hotmelt.com explains, because glass doesn't swell and shrink like wood, a flexible adhesive like silicone is a great fit in high-stress bonds.
Beyond flexibility, silicone brings waterproof, weather-resistant properties that rigid glues rarely match. It resists mildew growth and won't degrade in damp environments, so a glass-fronted display case in a humid kitchen or a bathroom shelf stays secure. This resilience is proven in aquariums, where 100% silicone sealant holds glass plates under constant water pressure. In fact, aquarium-grade silicone creates bonds so tough they can withstand great pressure—manufacturers now commonly use it to assemble entire tanks (Wikipedia).
Crucially, you don't need to slather it on. Silicone's strong bonding properties mean only a small bead, carefully run along the joint, is necessary. A thin, focused application actually yields a stronger bond than a heavy smear, because excess adhesive can interfere with proper curing and leave a mess. And because nothing sticks to cured silicone—paint, varnish, even other glues will bead up—that precise bead also protects the wood's finish. Apply it only where you need the seal, and the bond will be clean, strong, and durable.
While the full cure may take up to seven days, the result is a long-lasting, elastic bond that rigid glues simply cannot offer. For glass-to-wood projects where movement, moisture, or time might ruin a lesser connection, silicone is the clear winner.
The One Preparation Step Most DIYers Skip
Here's the thing: glass is slippery. Smooth surfaces give adhesives almost nothing to hold onto. So before you even uncap your silicone, lightly sand the contact area on the glass with fine-grit sandpaper. You're not trying to scratch it up visibly—just enough to create a microscopic texture that the adhesive can key into. According to WoodWeb, this simple scuff dramatically improves adhesion and is the step most people overlook. After sanding, wipe the glass clean with isopropyl alcohol to remove every trace of dust and oil. Then apply your silicone directly to the prepared surface. It's that little bit of extra effort that prevents a weak bond and keeps your display case together for years.
How to Apply Silicone for a Glass-Smooth Finish
Start by cutting the nozzle at a 45-degree angle, keeping the opening small—barely bigger than the diameter of a pencil lead. A tight tip gives you control and prevents over-application. Load the tube into a caulking gun and, working along the wood’s contact edge, squeeze gently as you drag the gun backward; don’t push. Dragging produces a cleaner, more uniform bead. As demonstrated by Mitre 10’s DIY experts, pulling the sealant rather than pushing it leaves a neater line.
Once the bead is laid down, smooth it immediately with a dedicated silicone applicator tool—a small plastic spatula with a flexible tip works beautifully. Press lightly and glide along the joint to press the silicone into the gap and remove excess. Remember: a little goes a long way. Apply silicone only to the contact points where glass meets wood. A thin, unbroken bead creates a strong, flexible bond that leaves no messy squeeze-out.
Wood Species Matter: Why Density Affects Your Bond
Not all wood is equally cooperative. High-density species like oak and maple swell and shrink significantly more as moisture levels change than low-density woods such as pine (USDA Forest Products Laboratory). That expansion and contraction places constant stress on the bondline, which is exactly why rigid glues fail over time. A flexible silicone adhesive can accommodate that movement without cracking.
Beyond mechanics, there's a finishing landmine: cured silicone residue leaves an invisible film that no stain or varnish will stick to. If your wood will be finished, either mask off the bonding area before applying adhesive, or complete all finishing first and then attach the glass to the sealed surface.
Cure Times and Finishing Rules
Once applied, silicone reaches handling strength in 24–48 hours, but a full cure can take up to 7 days for aquarium-grade products (IQS Directory). Don't move or stress the bond during that window. Finish wood before gluing—cured silicone residue will repel any paint or stain you apply later.
When NOT to Use Silicone for Glass-to-Wood
If your project bears weight—like a glass shelf or a display case loaded with heavy objects—silicone alone isn't enough. It bonds and seals wonderfully, but it's not a substitute for mechanical support. Always pair it with brackets, cleats, or some form of fastener that carries the load.
Sources
- The Best Adhesives for Bonding Glass: Choosing the Right Hot Melt or Non-Hot Melt Adhesive and Applicator for Your Job — hotmelt.com
- Materials and Types of Silicone Adhesives — iqsdirectory.com
- Silicone — en.wikipedia.org
- Adhering Glass to Wood — woodweb.com
- How to Use Silicone Sealant | Mitre 10 Easy As DIY — youtube.com
- Wood Adhesives: Bond Formation and Performance — fpl.fs.usda.gov
FAQ
What is the best adhesive for glass to wood?
Clear silicone adhesive is the best choice for bonding glass to wood because its flexibility accommodates the different movement rates of the two materials, preventing bond failure as the wood swells and shrinks. Only a small amount is needed for a strong, waterproof bond that resists mildew and weather.
Can I use super glue or epoxy on glass and wood?
Super glue and epoxy are not recommended for glass to wood because they cure rigid. Wood movement from humidity changes will eventually crack the bond, unlike silicone which remains flexible.
How long does it take for silicone to fully cure?
Silicone adhesive typically requires up to seven days to fully cure, though it may feel dry to the touch in a few hours. Cure time depends on bead thickness, temperature, and humidity.
Do I need to sand the glass before gluing?
Yes, lightly sanding the glass where the adhesive will be applied improves adhesion by giving the silicone a rougher surface to grip. Use fine-grit sandpaper and clean off all dust before gluing.
Can I paint or stain the wood after using silicone?
No, silicone prevents paint and stain from adhering. Even slight residue can ruin a finish, so complete all wood finishing before applying the adhesive, and mask off areas to keep them silicone-free.
See also
- flexible-adhesives-guide
- silicone-sealant-comparison
- wood-finishing-basics
- masking-techniques-for-glue
Related articles
Attaching Foam to Wood: Craft vs Structural Applications
How do I glue foam to wood without melting or weakening the foam?
Jul 22, 2026 · 6 min read
Joining Concrete to Wood: The Right Adhesive for Fence Posts and Decks
Which adhesive is best for attaching wood to concrete in outdoor projects?
Jul 22, 2026 · 11 min read
How to Bond Acrylic to Metal: Achieving a Clear, Strong Joint
What's the best adhesive for bonding acrylic (plexiglass) to metal without clouding?
Jul 22, 2026 · 6 min read