Attaching Metal to Tile: Which Fasteners and Adhesives Survive Bathroom Moisture?
How to securely mount metal fixtures to ceramic tile without cracking or water damage?
On this page
Start with a relatable bathroom scenario: a loose towel bar or the need to install a grab bar. Pose the dilemma—drilling risks cracking tile, and adhesives seem risky around water. Tease the three main approaches (construction adhesive, epoxy, mechanical anchors) and promise a moisture-proof guide.
The Problem with Construction Adhesive and Moisture
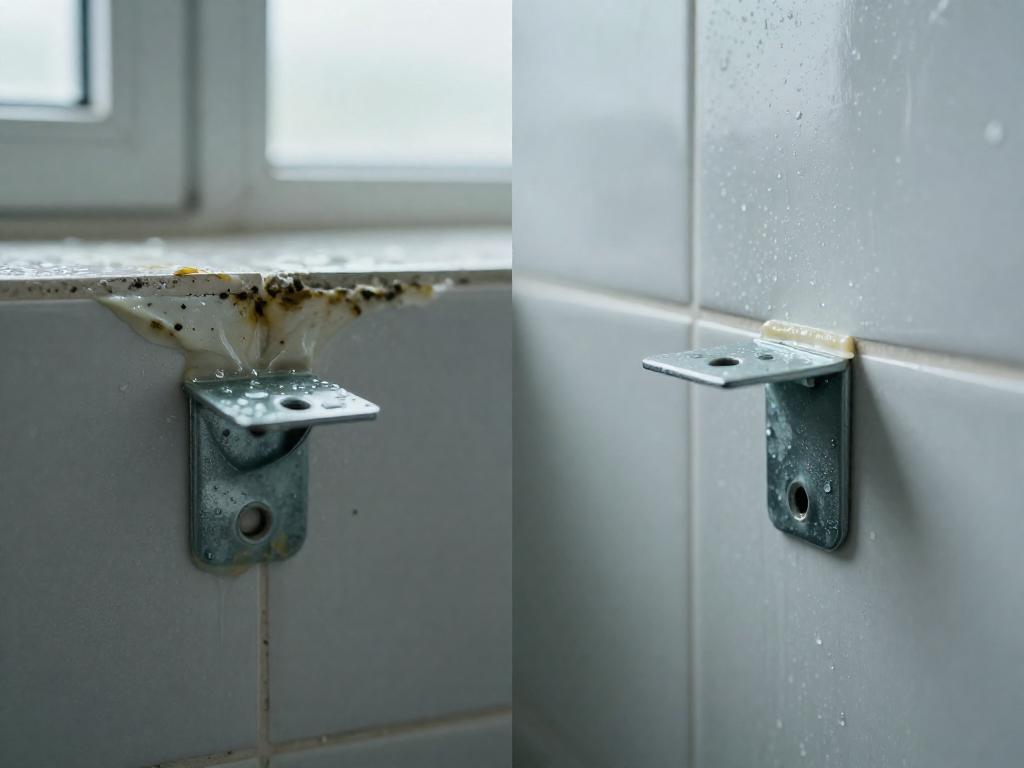
If you're trying to mount a metal grab bar, towel rack, or soap dish to ceramic tile without cracking the tile or inviting water damage, the answer isn't lurking in the caulking aisle. Standard construction adhesive—the kind that comes in a heavy-duty cartridge promising to bond everything—is the wrong tool here. To securely attach metal to tile in a wet bathroom, use a two-part epoxy or an epoxy-based tile mortar. These create a waterproof, non-porous bond that stands up to the constant humidity and temperature swings of a shower.
Construction adhesives are formulated for porous materials like wood, drywall, and masonry. When you squeeze them onto a glazed ceramic tile and a smooth metal bracket, they simply can't get a reliable grip. The bond might feel strong initially, but bathrooms are adhesive torture chambers. As temperatures rise with hot shower steam and moisture penetrates every microscopic gap, construction adhesive begins to degrade. Brampton Technology notes that it is not as resistant to harsh environments and may break down faster when exposed to heat, moisture, or chemicals—exactly the conditions behind a shower wall. Within months, that “permanent” bond turns brittle or gooey, and your fixture pulls loose, taking grout or a chunk of tile with it.
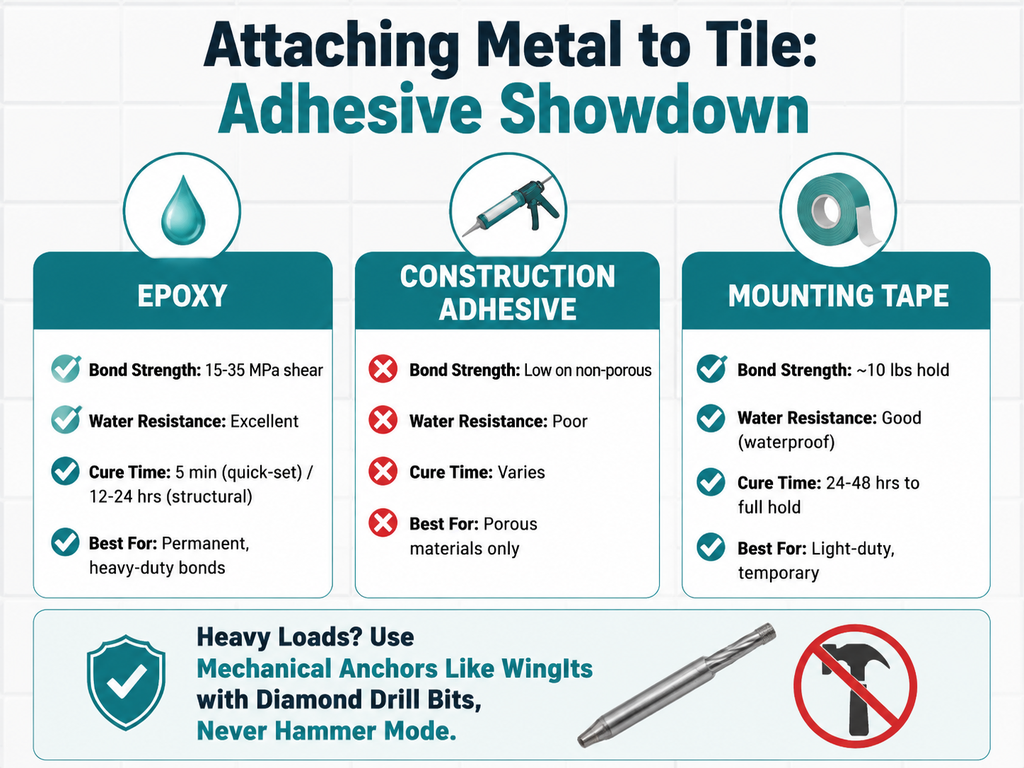
In contrast, epoxy adhesives chemically cure into a rigid, high-strength solid that tenaciously clings to non-porous surfaces like metal, glass, and ceramic. They offer tensile shear strengths anywhere from 15 to 35 MPa, depending on the formulation. For tile applications, an epoxy mortar is both waterproof and chemically resistant, bonding directly to metal and tile while sealing out moisture. It’s the same logic as using epoxy grout in a shower to prevent mildew—porous materials fail, while epoxy stays impermeable. A well-mixed epoxy penetrates microscopic surface irregularities and cures to a barrier that resists water and cleaning chemicals, two constants in any bathroom.
If drilling is required for a mechanical anchor, always use diamond-tipped bits without hammer mode to avoid cracking. But if you're relying on adhesive alone, pre-treat both surfaces with a light sanding and a wipe with isopropyl alcohol. Then mix your epoxy exactly as directed and apply uniform clamping pressure. That prep work pays off when the fixture stays put for years. Don’t reach for a one-part construction adhesive hoping it will hold; save it for the wooden vanity, not the tile wall.
Epoxy: The Go-To Solution for Metal-to-Tile Bonding
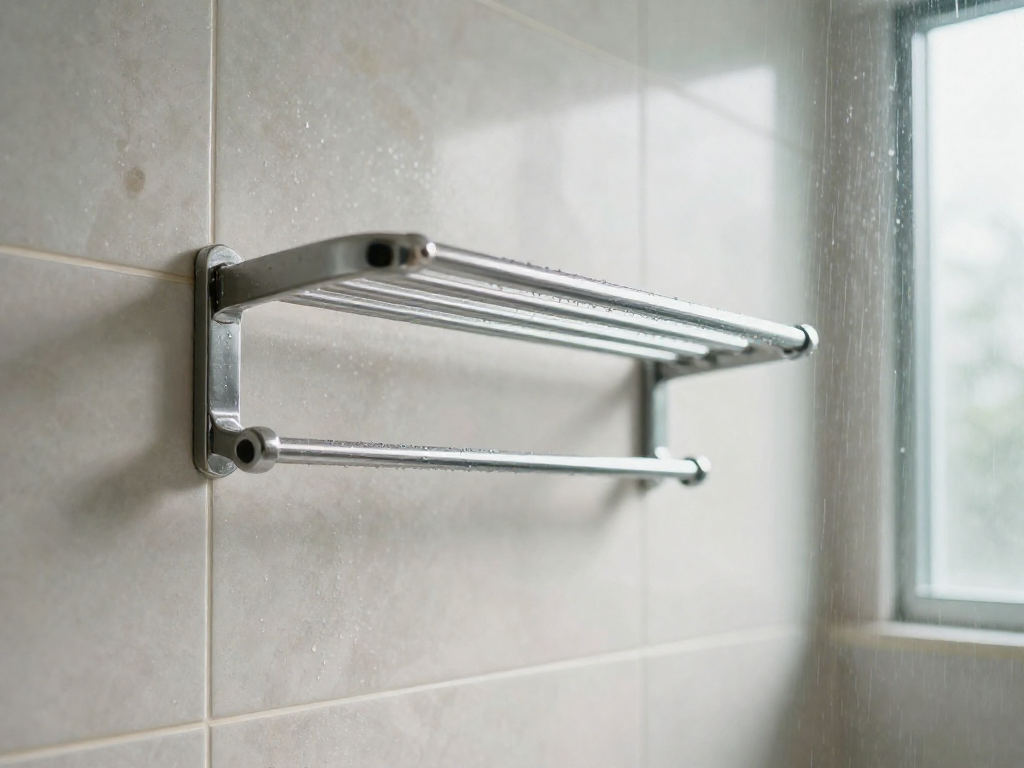
When you're bonding a metal towel bar, soap dish, or shelf bracket to a glazed ceramic tile in a steamy bathroom, epoxy is the one adhesive that truly gets the job done. Unlike the construction adhesives we covered earlier, epoxy chemically cures to a rock-hard, waterproof bond that adheres tenaciously to slick surfaces like metal and ceramic—materials that standard glues just can't grip.
Epoxy-based tile adhesives and mortars are specifically formulated for wet areas. They're waterproof, chemical-resistant, and designed to bond metal, glass, stone, and ceramic tile without breaking down from constant humidity or cleaning products. Cure times vary: quick-set epoxies set in as little as five minutes, but structural-grade products need a full 12 to 24 hours to reach their ultimate strength. For permanent fixtures, the full-cure wait is non-negotiable—rushing it risks a weak joint.
A properly cured epoxy bond delivers a tensile shear strength ranging from 15 to 35 MPa, depending on the formulation and materials involved (SpecialChem). Converted to more familiar units, that's roughly 2,200 to 5,000 psi—plenty of holding power for a towel bar, a bracket, or even a small floating shelf. But hold up: epoxy alone is not a replacement for mechanical fasteners when the fixture is load-bearing or safety-critical. If you're installing a grab bar, you must use specialized hollow-wall anchors that bite into the wall cavity; adhesive alone won't cut it.
If you're joining a very smooth metal like stainless steel to a glossy tile, consider using an adhesion promoter. A quick pre-treatment step improves the epoxy's chemical grip and can significantly boost long-term durability, especially on the ceramic side. In short, for most everyday metal-to-tile bathroom projects, a waterproof epoxy adhesive or mortar is the dependable, off-the-shelf answer that leaves you with a bond that survives moisture and doesn't let go.
When to Use Mechanical Anchors Instead
If you’re mounting a grab bar, a heavy shelf, or anything that will bear body weight, glue alone is a liability. Epoxy can hold a lightweight accessory just fine, but in a wet shower, a fall means a lot more than a broken soap dish. For safety-critical loads, you need mechanical anchors that physically lock into the wall behind the tile.
Drilling through tile is the part that scares people, and it should — if you do it wrong, you’ll crack the tile before you even get the anchor in. The non-negotiable rule: use a diamond-tipped drill bit and never engage your drill’s hammer mode on tile. That percussive action is the single most common cause of cracked porcelain or ceramic (RUBI). Instead, go slow with steady pressure, clearing dust often. A piece of painter’s tape over the mark keeps the bit from skating on the glazed surface.
Once you’re through the tile and backer board, what you put in the hole matters enormously. Standard plastic anchors won’t cut it. For grab bars without a stud behind them, use purpose-made hollow-wall anchors — WingIts are the go-to. These anchors expand behind the wall board into a broad footprint that spreads the load, instead of torquing against the brittle tile edge. If you can hit a stud, even better; lag bolts into wood are bulletproof. But in many bathrooms, studs aren’t where you need them, so the WingsIts earn their keep.
Positioning is the last piece. Horizontal grab bars should sit between 33 and 36 inches from the shower floor, per ADA guidelines, so mark your hole locations carefully before drilling. Always confirm the anchor’s weight rating and make sure your backing surface (drywall, cement board) is solid enough to support it. When you’re done, a thin bead of silicone around the escutcheon seals the penetration against moisture. This is the one method that holds up when a person grabs on, not just when they lean.
Quick Fix: Double-Sided Tape for Lightweight Items
For decorative hooks, a lightweight soap dish, or a tiny shelf that just needs to sit still, a heavy-duty waterproof mounting tape can do the job without drilling. Expect it to hold roughly 10 lbs after a 24- to 48-hour cure—one real-world test showed a metal bar clinging securely to tile at that weight (YouTube). This is strictly for items that won't get bumped, pulled, or leaned on; never trust tape for a towel bar, grab bar, or anything that bears a child’s weight.
Step-by-Step: How to Prepare and Bond Metal to Tile
For a reliable bond in the bathroom, epoxy is your best bet. This method works for towel bars, small shelves, or hooks — not for grab bars that must support body weight. Save those for mechanical anchors.
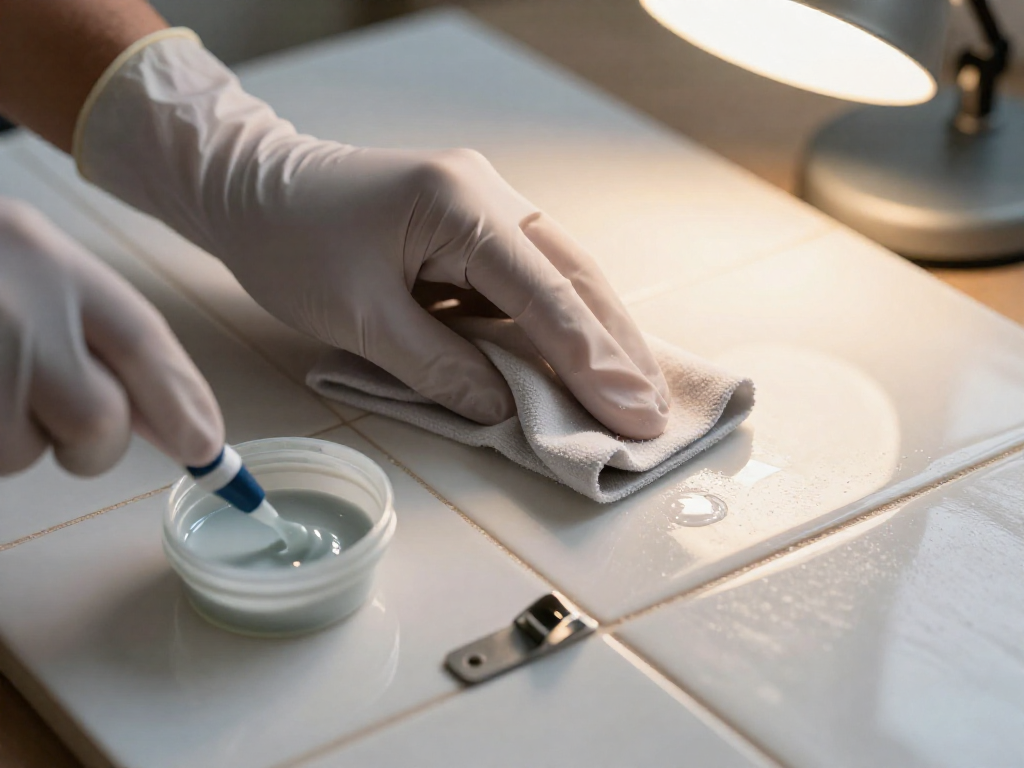
Start by cleaning both surfaces with isopropyl alcohol. Any soap scum, oil, or residue will undermine adhesion, so don’t skip this. Next, check your epoxy’s instructions: some ceramic finishes need an adhesion promoter applied to the tile before the epoxy (S-Bond). A thin layer improves grip on the non-porous surface.
Mix the epoxy precisely — scrape the sides, blend thoroughly — and spread an even coat onto the metal piece. Press it firmly against the tile and hold in place with painter’s tape or a temporary jig. Avoid disturbing it at all. Full cure can take anywhere from 12 to 24 hours for structural-grade formulas, so let it sit overnight before hanging anything on it. The bond will be waterproof and chemical-resistant, ready for daily steam and splashes.
Conclusion
For anything heavier than a towel ring, skip construction adhesive—it breaks down in wet conditions—and use epoxy for medium-duty bonds or specialized anchors like WingIts for grab bars (Rubi). Lightweight decorations can often be mounted with waterproof double-sided tape that holds around 10 lbs.
Sources
- Epoxy Vs. Construction Adhesive - Brampton Technology — bramptontechnology.com
- Adhesive vs Epoxy: Which Bonding Method Is Best? — blacklandmfg.com
- Adhesives for Building and Construction — specialchem.com
- How to Choose the Best Tile Adhesive for Different Tiles — linkedin.com
- How to Choose the Correct Tile Adhesive or Mortar — thespruce.com
- Ceramic to Metal Bonding — s-bond.com
- No Drilling Method For Mounting Heavy Things on A Tile Wall or Backsplash — youtube.com
- How to Install Grab Bars in Tile Shower: Professional Guide — rubi.com
See also
- Epoxy vs. construction adhesive: a deep dive on bonding science
- How to drill through porcelain tile without shattering it
- Grab bar installation guide for bathrooms
Related articles
Attaching Foam to Wood: Craft vs Structural Applications
How do I glue foam to wood without melting or weakening the foam?
Jul 22, 2026 · 6 min read
Joining Concrete to Wood: The Right Adhesive for Fence Posts and Decks
Which adhesive is best for attaching wood to concrete in outdoor projects?
Jul 22, 2026 · 11 min read
How to Bond Acrylic to Metal: Achieving a Clear, Strong Joint
What's the best adhesive for bonding acrylic (plexiglass) to metal without clouding?
Jul 22, 2026 · 6 min read