Joining Dissimilar Metals: Preventing Galvanic Corrosion in Your Bond
How can I bond two different metals without causing corrosion?
On this page
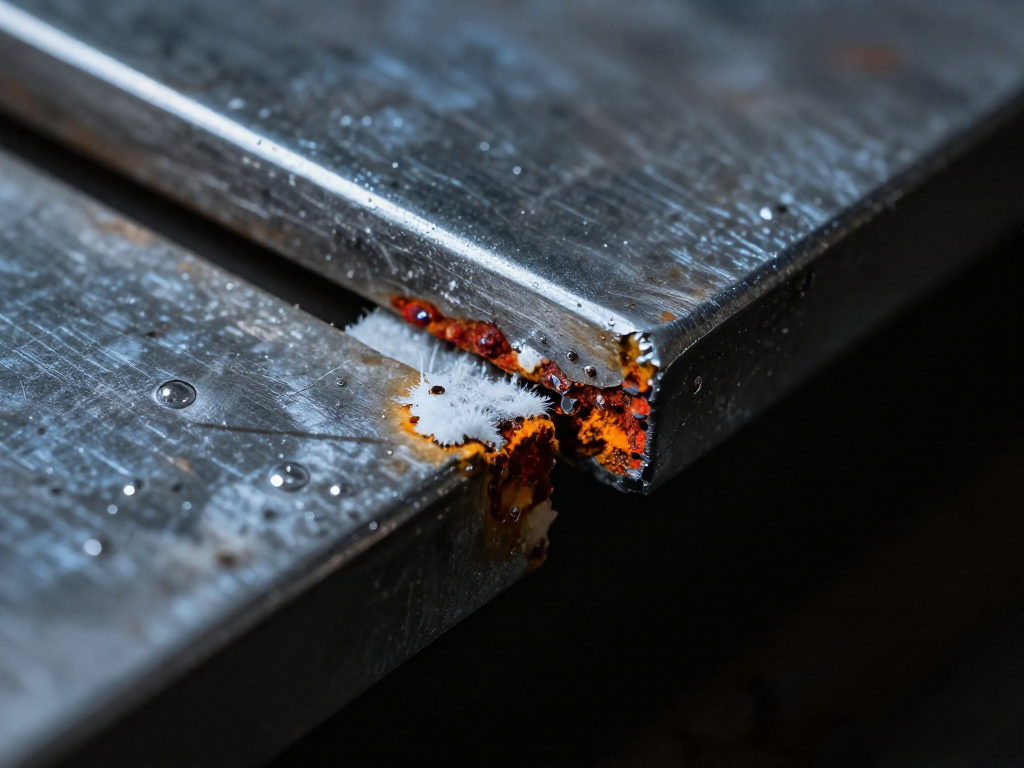
Start with a relatable DIY failure: a bracket repair where the bond held but the joint rotted from hidden corrosion. Introduce adhesive bonding as the solution that doubles as an electrical isolator, preventing the electrochemical reaction from ever starting.
The Hidden Risk of Bonding Dissimilar Metals
To bond dissimilar metals without inviting corrosion, you need to break the electrical circuit between them — and that’s exactly what a well‑chosen adhesive does. When two different metals touch in the presence of an electrolyte (think rainwater, salt spray, or even high humidity), they form a tiny battery. The more active metal gives up electrons and corrodes — this is galvanic corrosion, and it can quickly wreck a joint that’s mechanically sound.
An adhesive film acts as a dielectric barrier, physically isolating the metals so electrons and ions can’t migrate. As the European Aluminium association’s joining guide points out, adhesive bonding is a trusted, standard method for joining dissimilar materials specifically to combat galvanic attack. In this article, we’ll walk through what makes that barrier hold up under real conditions — moisture, heat, loads — so your repair or project lasts.
Galvanic Corrosion 101: Why Metal Pairs Eat Each Other
When two different metals touch in the presence of an electrolyte, you’ve got a tiny battery. The more active metal (the anode) gives up electrons and corrodes, while the nobler one (the cathode) stays intact. It’s not rust in the usual sense—it’s galvanic corrosion, and it eats away the anode surprisingly fast if the conditions are right.
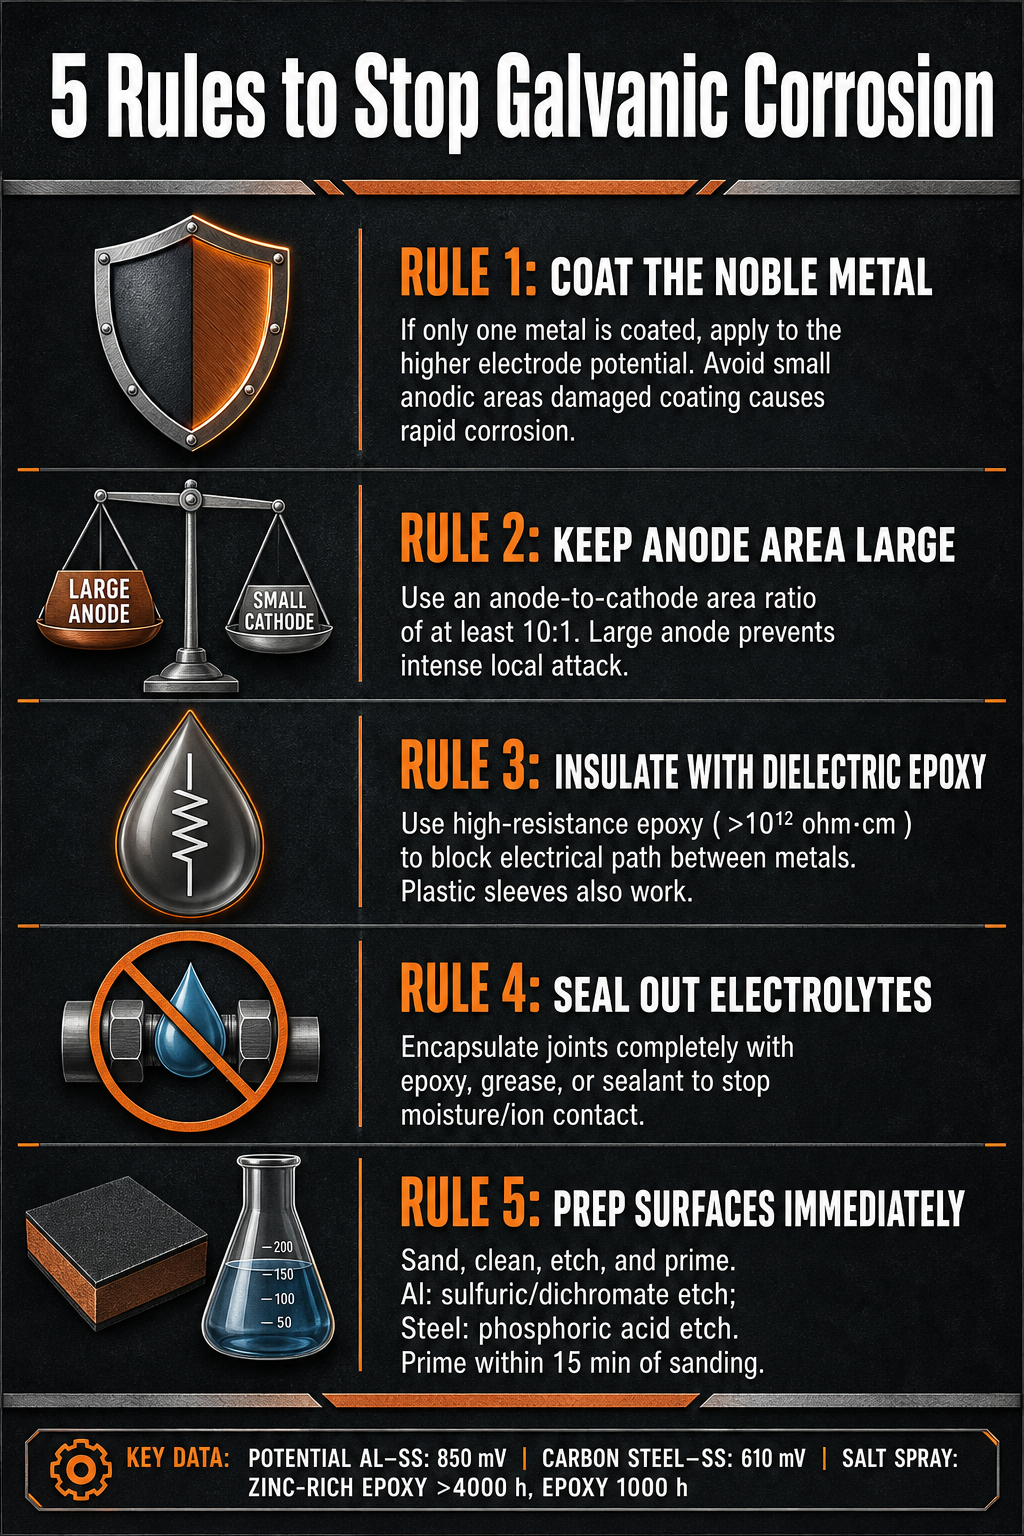
Not all pairings are equally vicious. The driving force is the voltage difference between the two metals, and the bigger the gap, the harder the corrosion pushes. For example, aluminium and stainless steel have a potential difference of about 850 mV—one of the worst combinations you can make. Aluminium and carbon steel sit at roughly 240 mV apart, while carbon steel and stainless steel clock in around 610 mV. (These figures come from a comprehensive industry review by the Norwegian Ocean Industry Authority (Havtil).) So if you’re bolting aluminium to stainless outdoors, you’re asking for trouble.
The electrolyte is the missing link that completes the circuit. Distilled water won’t do much, but a splash of saltwater, road grime, or even high humidity provides the ions needed to start the reaction. Break that path, and the corrosion stops. That’s why adhesives are such a clean solution: a continuous epoxy or acrylic bond line physically separates the metals, blocking both electrical contact and moisture ingress simultaneously. You’re not just gluing—you’re insulating. And that one‑two punch turns a risky metal pair into a durable, long-term joint.
Surface Preparation: The Make-or-Break Step You Can't Rush
Aluminium oxide is reforming within 15 minutes of sanding (PPG), which is why the clock starts ticking the moment you touch a fresh surface. If you abrade and then walk away to make coffee, you lose the window. Clean metal is fleeting, and any delay lets the passive layer rebuild, killing bond strength.
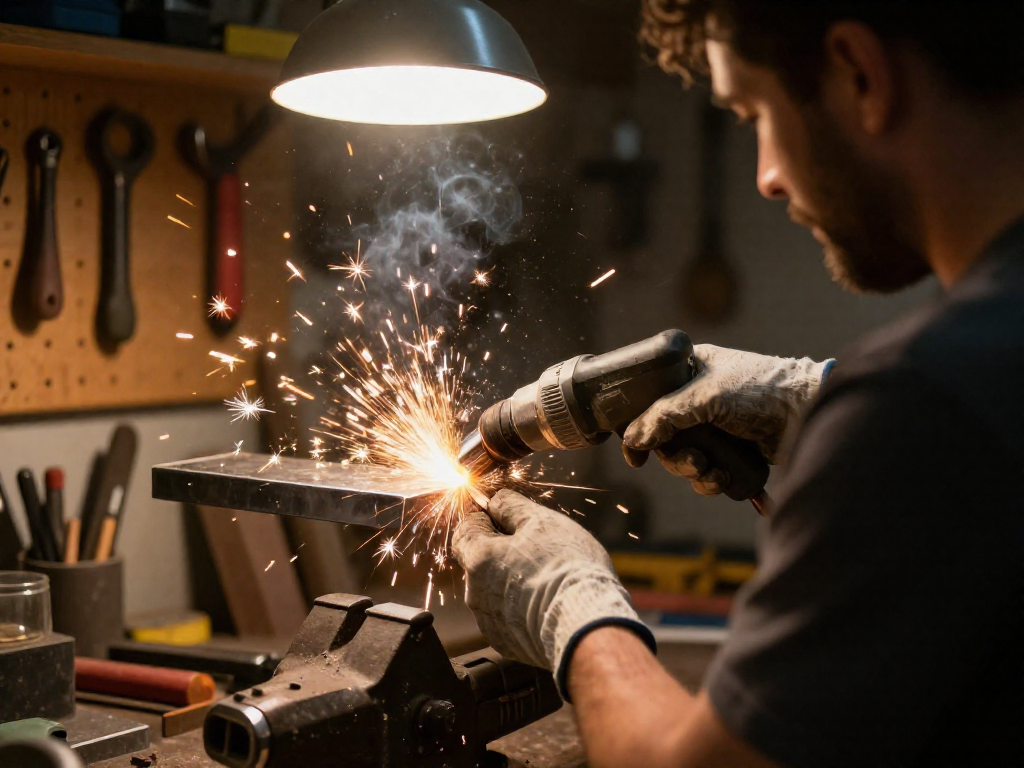
Every dissimilar-metal bond starts the same way: abrade both surfaces to remove existing oxide and key the metal. Use a clean, sharp abrasive—aluminium oxide paper around 180–220 grit works for most home-shop work—and then degrease thoroughly with acetone or isopropyl alcohol on a lint-free wipe. Wipe in one direction; don’t scrub and redeposit contamination.
From there, chemical etching locks in that surface freshness and creates micro-roughness at a level sandpaper can’t touch. For aluminium, the standard etch is a chromate-sulfuric bath: 68.83% deionised water, 24.51% sulfuric acid (96%), and 6.66% sodium dichromate. Immersion is 20 minutes at 25°C, followed by a tap-water rinse, a final deionised-water rinse, and oven drying for 30 minutes at 70°C. If you’re bonding mild steel, the etch switches to an alcohol-phosphoric system: 66.7% denatured ethyl alcohol and 33.3% orthophosphoric acid (85%). Immerse for 10 minutes at 60°C, rinse with tap water then deionised water, and oven-dry for a full 60 minutes at 120°C. Both recipes come straight from industrial practice and are proven to produce chemically active, high-energy surfaces.
The etch creates a micro-porous oxide layer that an adhesive can mechanically key into while also chemically fresh enough to form strong secondary bonds. Once dry, the treated parts must be bonded immediately. Even a few hours in ambient air allows re-oxidation and moisture uptake that reduce bond performance.
Wear gloves throughout. Fingerprints deposit oils and salts that act as a barrier between adhesive and metal, and on some alloys they can initiate localised corrosion before the bond is even cured. If you handle a prepared surface with bare hands, you’ve already compromised it—repeat the cleaning and drying steps before proceeding. The entire sequence—abrade, degrease, etch, dry, bond—happens in one session, with no pauses. Get your adhesive mixed and your clamps ready before you pull parts from the oven. This level of rigor is what separates a bond that weathers years of moisture and thermal cycling from one that fails at the joint after a single wet season.
Choosing an Adhesive That Blocks Corrosion
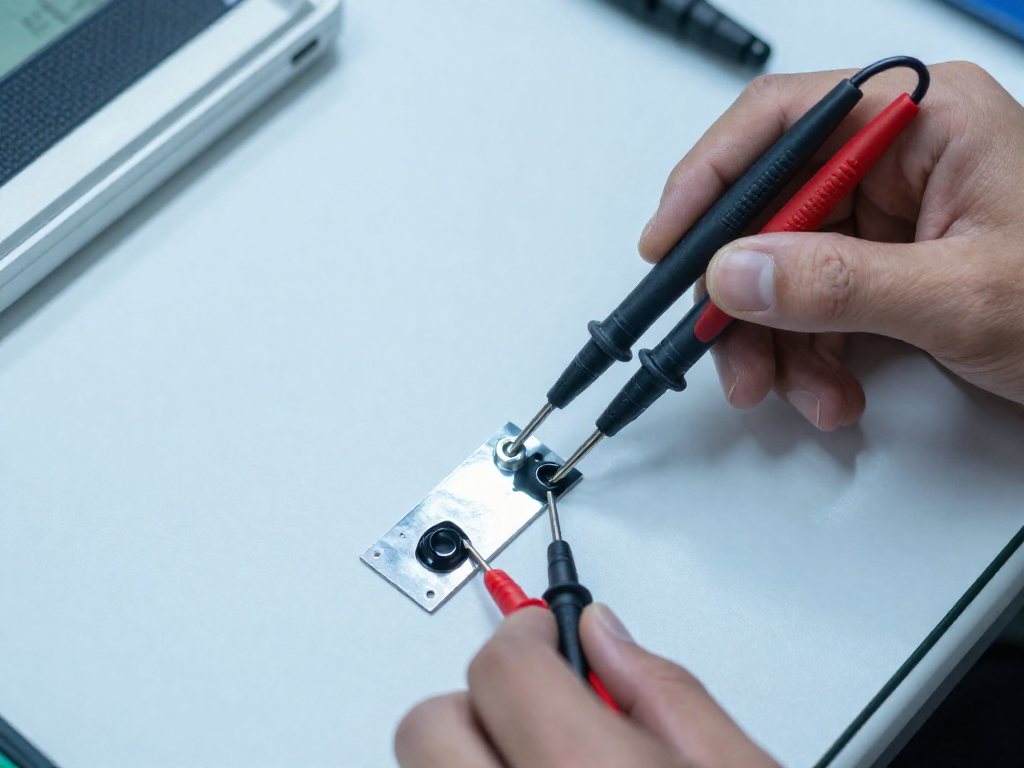
The adhesive you pick must do more than just hold — it has to act as an electrical insulator. That means a dielectric epoxy. Look for a volume resistivity well above 1.0 × 10¹² ohm‑cm at 25°C. Below that, you’re flirting with trouble; conductive epoxies (under 0.001 ohm‑cm) actively accelerate galvanic corrosion by shuttling ions between the two metals. That’s the last thing you want.
For straight-up bond strength on the trickiest pairs, Master Bond’s Supreme 10HT stands out. In head‑to‑head testing across eight of their own epoxy compounds, Supreme 10HT delivered the highest lap shear on roughened, acetone‑cleaned coupons of aluminum‑to‑stainless steel, aluminum‑to‑titanium, and nickel‑to‑titanium (Master Bond). If your joint sees a load, that’s a strong start.
Another solid candidate is Atom Adhesives Metal‑Bond 1, a one‑hour‑cure industrial epoxy with a dielectric strength of 410 kV/in and volume resistivity of 5.00 × 10¹¹ ohm‑cm — squarely in the insulating range. It’s formulated specifically to resist galvanic action, making it a practical choice for home‑shop repairs where you need a reliable cure without exotic surface treatments.
But adhesive alone is only one line of defense. Even with a perfect insulator bridging the gap, any moisture that creeps past can still set up corrosion along the edges. A zinc‑rich epoxy primer in a three‑coat system — a zinc primer, a mid‑coat, and a durable topcoat — pushes salt‑spray resistance past 4,000 hours in ASTM B117 testing, compared to a bare 1,000 hours for a plain epoxy primer. That’s a massive jump in real‑world protection for exposed dissimilar‑metal assemblies.
When you can’t coat both metals, apply the barrier to the more noble one. A tiny anodic area on a large cathodic surface invites aggressive pitting if the coating gets scratched. Use that dielectric epoxy as your main bond, then back it up with a coating strategy, and you’ve given that joint its best shot at a long, corrosion‑free life.
How to Apply the Adhesive for Maximum Electrical Isolation
The adhesive you choose is only half the equation—how you apply it determines whether the bond survives years of exposure to moisture and road salt. Every joint between dissimilar metals needs a continuous, unbroken barrier that keeps the electrolyte from ever bridging the two metals. That means thinking beyond the bond line and actively sealing every edge and fastener.
If production constraints or access limits you to coating only one of the two metals, coat the more noble one. For example, in an aluminum–stainless steel pairing, stainless is the more noble; in a carbon steel–copper joint, copper is. The reasoning is straightforward: if you coat the less noble (anodic) metal and that coating gets scratched, you create a tiny anode exposed to a large, uncoated cathode. That drives extremely rapid pitting corrosion right at the damage site. A small scratch in a coating on stainless steel, however, leaves a small cathode area while most of the joint remains protected, so corrosion proceeds far more slowly. Put another way, you want to avoid a large cathode–small anode scenario at all costs.
For maximum protection, fully encapsulate the joint. This goes beyond simply spreading adhesive between the faying surfaces. After joining, butter a generous bead of epoxy over the entire seam and along any exposed metal edges, essentially burying the junction in a plastic-like shell. This physical isolation is what really prevents ionic compounds from completing a corrosion circuit. In structural bolted connections, one proven method is to drill a small vent hole through the bolt head and inject low-viscosity epoxy into the threaded cavity until it emerges, ensuring every crevice is filled (Havtil). The same injection technique works for threaded inserts or studs, and it has the bonus of locking the fastener against vibration loosening. If you can’t inject, use a plastic sleeve or insulating bushing inside the bolt hole, and pack the hole with sealant before driving the bolt.
For a quick field fix—say, threading a steel bolt into an aluminum engine block—a coat of heavy waterproof grease on the threads can provide temporary insulation. But it’s just that: temporary. Grease eventually washes out or degrades, especially under heat or pressure. Save it for low-load, non-safety‑critical joints where you’ll be disassembling the parts again soon. For anything meant to last, use an epoxy that specifically advertises high dielectric strength and volume resistivity. Products like Metal‑Bond 1 (410 kV/in dielectric strength) are designed for exactly this purpose.
The bottom line: treat the adhesive as an electrical insulator first and a structural bond second. Coat the noble side when you can’t coat both, seal every edge, and for bolted assemblies, fill every void.
Designing the Joint to Discourage Corrosion
The simplest design rule is to keep the anode’s surface area much larger than the cathode’s. As a practical benchmark, aim for an anode‑to‑cathode ratio of at least 10:1—as recommended by the American Galvanizers Association. A tiny zinc‑plated screw (the anode) threaded into a big stainless steel plate (the cathode) is a textbook example of getting this wrong: the screw turns into a concentrated corrosion site and fails fast.
Inside the bond line itself, the adhesive must act as a continuous electrical insulator. Any void, thin spot, or exposed edge creates a local galvanic cell where moisture can bridge the two metals. So design the joint for full coverage and a consistent adhesive thickness. Don’t settle for a bead that might leave bare metal peeking through—the goal is complete encapsulation of both surfaces.
Finally, if you can coat only one metal before bonding, coat the more noble (cathodic) one. That way a scratch won’t turn a tiny anode into a rapid‑corrosion target. With a well‑designed joint, the adhesive’s chemical barrier and the physical geometry work together to stop corrosion before it starts.
Step-by-Step Process for a Corrosion-Proof Bond
-
Identify the metals and check galvanic compatibility. Look up your exact alloys on a galvanic series chart. The farther apart they sit, the greater the corrosion risk. If possible, aim for an anode-to-cathode surface area ratio of at least 10:1 to keep the sacrificial metal large relative to the noble one.
-
Abrade both surfaces. Use a clean sanding pad or wire brush to roughen the bond area until it’s uniformly dull. This increases mechanical grip and exposes fresh, oxide-free metal for the chemical treatment steps that follow.
-
Degrease thoroughly. Wipe both parts with acetone or isopropyl alcohol and a lint-free cloth. Even a fingerprint can prevent the etch or epoxy from working properly.
-
Apply a chemical etch or conversion coating. This step creates a stable, corrosion-resistant layer the epoxy can grip. For aluminum, a proven etch is a solution of roughly 69% deionized water, 25% sulfuric acid, and 7% sodium dichromate, immersed for 20 minutes at 25°C (Master Bond). Mild steel responds well to a 2:1 mix of denatured ethyl alcohol and orthophosphoric acid at 60°C for 10 minutes. If you can only coat one metal, coat the more noble (cathodic) one—a scratch in a coating on the active side creates a tiny anode paired with a large cathode, which accelerates attack.
-
Dry completely. Rinse with tap water then deionized water, and force-dry in an oven if you can. Master Bond suggests 30 minutes at 70°C for aluminum, and 60 minutes at 120°C for steel. Any residual moisture undermines both adhesion and isolation.
-
Mix and apply a dielectric epoxy. Pick an adhesive with high dielectric strength to block galvanic current. For example, Metal-Bond 1 has a dielectric strength of 410 kV/in and volume resistivity above 5×10^11 ohm‑cm, making it an effective barrier. Mix per the data sheet and apply immediately—stay well within the pot life.
-
Clamp and cure exactly as directed. Use just enough pressure to form a thin, gap-free bond line without starving the joint. Follow the manufacturer’s time and temperature recommendations to the letter; a full cure maximizes electrical isolation and mechanical strength.
-
Post-cure: seal the edges. Moisture often sneaks in through the exposed bond line. Run a fillet of the same epoxy or a paintable polyurethane sealant along all edges. For bolted assemblies, injecting epoxy through a bolt-head hole is a field-proven way to waterproof the connection and damp vibration.
Long-Term Durability and Maintenance
Even the best-protected joints aren't permanent, but you can expect years of service with the right coating. In ASTM B117 salt spray testing, an epoxy primer held up for 1,000 hours before failing to a 7A–8A rating, while a zinc-rich epoxy system with a topcoat sailed past 4,000 hours (Minimizing the Effects of Galvanic Corrosion). That doesn't translate directly to calendar years—outdoor exposure varies wildly—but it shows the gap between a basic barrier and a sacrificial system.
Plan to inspect bonded joints at least once a year. Look for cracks, chips, or blistering in the coating. Any breach, no matter how small, gives an electrolyte a path to the metal and kick-starts galvanic corrosion. Touch it up immediately with the same coating system you used initially. If the joint flexes or carries a load, check for adhesive delamination or loss of strength; a re‑application may be necessary if the bond line has degraded.
Sources
- 11. Joining dissimilar materials — european-aluminium.eu
- Galvanic Corrosion — nachi.org
- Review of structural connections of dissimilar metals – ... — havtil.no
- MINIMIzING ThE EffECTS Of GALvANIC CORROSION — assets-us-01.kc-usercontent.com
- Dissimilar Metal Corrosion with Zinc — galvanizeit.org
- Physical Strength Properties of Epoxy Adhesive Compounds | MasterBond.com — masterbond.com
- Dielectric Epoxy Adhesives | High-Performance Electrical Insulation | EpoxySet — epoxysetinc.com
- Metal-Bond 1 Hour Cure Strongest Industrial Grade Epoxy Adhesive Quickly Hardens — atomadhesives.com
- Preparing Steel | SOPs | Refinish — ppg.com
- Surface Preparation For Bonding Metals | MasterBond.com — masterbond.com
See also
- Bonding Plastic to Metal: Adhesive Selection and Prep
- Surface Preparation 101: From Degreasing to Chemical Etching
- Epoxy vs. Polyurethane vs. Acrylic: Which Adhesive for Your Project?
- How to Repair Rusted Metal Before Applying Adhesive
Related articles
Attaching Foam to Wood: Craft vs Structural Applications
How do I glue foam to wood without melting or weakening the foam?
Jul 22, 2026 · 6 min read
Joining Concrete to Wood: The Right Adhesive for Fence Posts and Decks
Which adhesive is best for attaching wood to concrete in outdoor projects?
Jul 22, 2026 · 11 min read
How to Bond Acrylic to Metal: Achieving a Clear, Strong Joint
What's the best adhesive for bonding acrylic (plexiglass) to metal without clouding?
Jul 22, 2026 · 6 min read